When you think of summer, you might think of long sunny days and even a day at the beach, but you might not have considered the prospect of sand getting everywhere. For those who live near the coast, or those venturing to the beach for their holidays, the struggle of dealing with sand in your car is all too familiar.
It seems to find its way into every nook and cranny. However, with the right techniques and a little elbow grease, you can banish that sand from your car and reclaim your clean, pristine interior.
In this guide, we’ll walk you through the steps to effectively remove sand from your car.
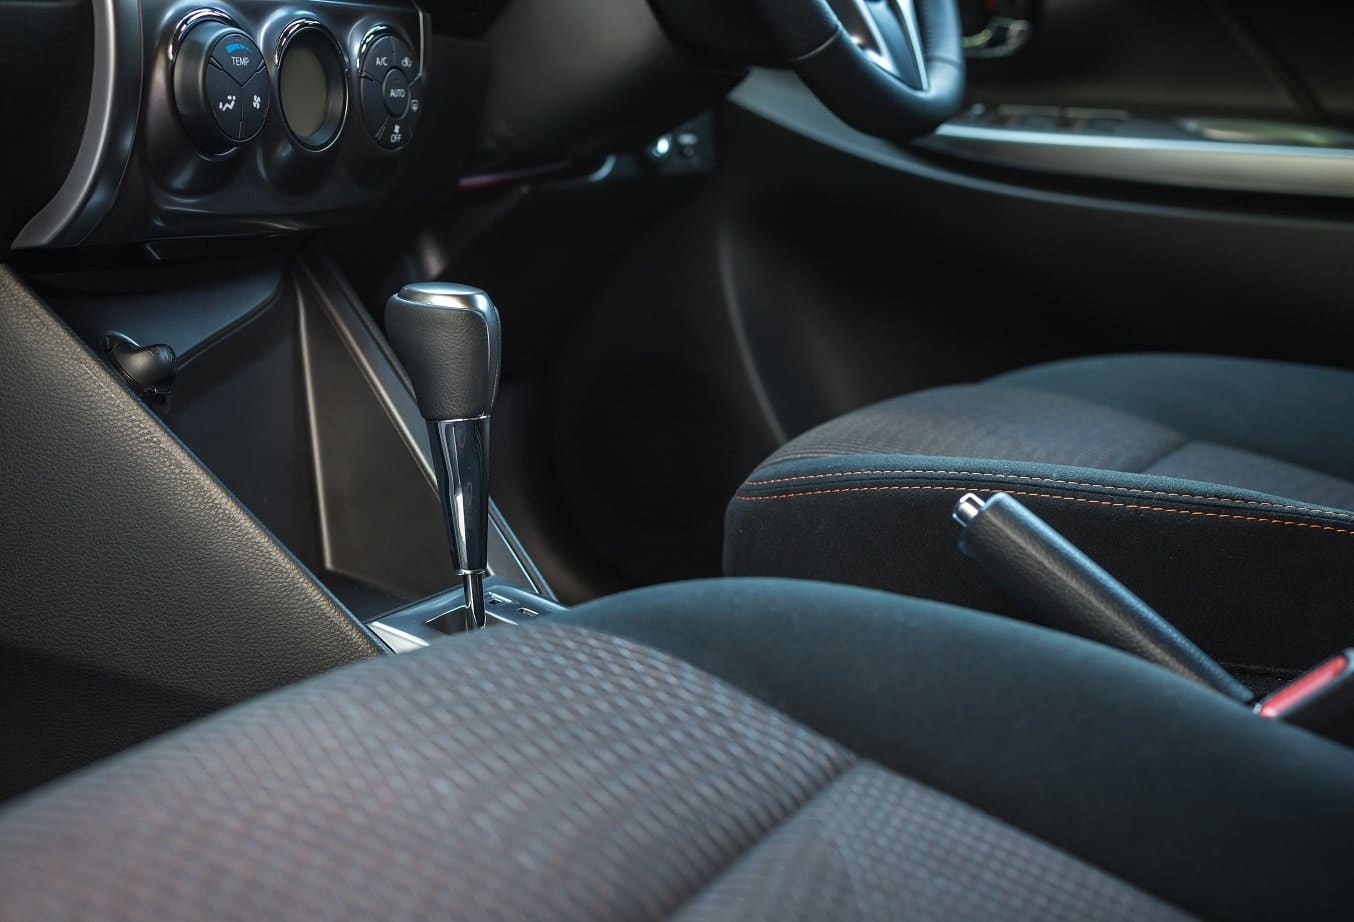
How to remove sand from a car’s interior
Removing sand from your car is a simple process when you know how to do it, but it requires time and a bit of patience.
Here, we offer a step-by-step guide, showcasing the different stages to follow when you’ve found sand in the car.
What you’ll need
Before you embark on your sand removal mission, make sure you have the following supplies on hand:
- Vacuum cleaner with hose attachment
- Heavy object for patting down surfaces
- Detailing brush or crevice attachment
- Specialised cleaning products for car interiors
Step 1: Park up safely, as quick as possible
The key to minimising the spread of sand in your car is to act swiftly. As soon as you notice sand in your vehicle, find a safe spot to park your car. The longer you leave the sand to dry into the upholstery, the harder it can be to remove. So, make a pit stop and tackle the sand situation head-on.
Step 2: Move removable accessories
Once parked, start by taking out any removable accessories from your car, such as mats and car seats. Take them outside and give them a good shake to dislodge any trapped sand. This step will make the cleaning process much more manageable by eliminating larger debris before diving into the nitty-gritty.
Step 3: Use a heavy object to pat down your car’s interior
Next, grab a heavy object and gently pat down the surfaces of your car’s interior. This action helps loosen up the sand, making it easier to remove with a vacuum cleaner later on. Be sure to cover all areas, including the seats, floor mats, and dashboard.
Step 4: Use a vacuum to reach accessible spots
Now it’s time to bring out the vacuum cleaner. Use the hose attachment to reach all the accessible spots in your car, sucking up the loosened sand as you go. Pay special attention to the seams and crevices where sand tends to hide, ensuring a thorough clean.
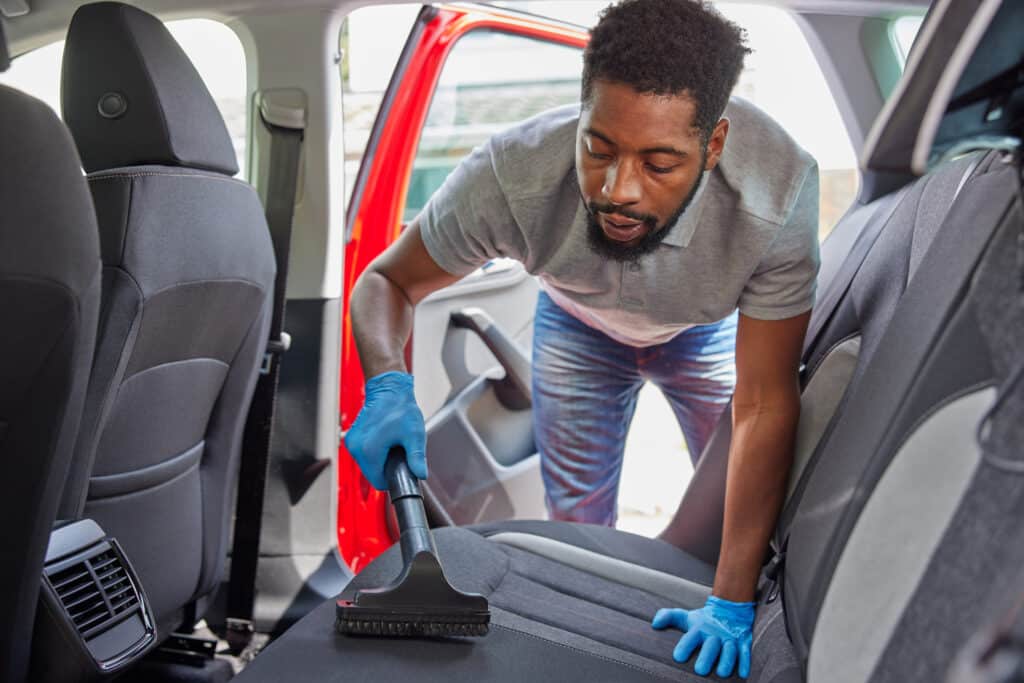
Step 5: Use a smaller tool to reach smaller crevices
For those stubborn sand particles that refuse to budge, enlist the help of a smaller tool, such as a detailing brush or a crevice attachment. These tools are perfect for reaching those tight spaces where sand loves to lurk, ensuring a comprehensive clean from top to bottom.
Step 6: Final interior clean
Once you’ve vacuumed up the bulk of the sand, it’s time for the final touch. Make use of Simoniz’s specialist cleaning products designed for car interiors to give your vehicle that showroom shine. Whether it’s upholstery cleaner, interior wipes or dashboard polish, any of these products will help remove any remaining traces of sand and leave your car looking and smelling fresh. For a more in depth guide on how to clean your car, take a look at our blog on How to Clean Your Car Interior like a Pro.
By following these steps and arming yourself with the right tools, you can say goodbye to sand-covered car woes and hello to a clean interior. For more help and advice, check out our Interior Cleaning hub.