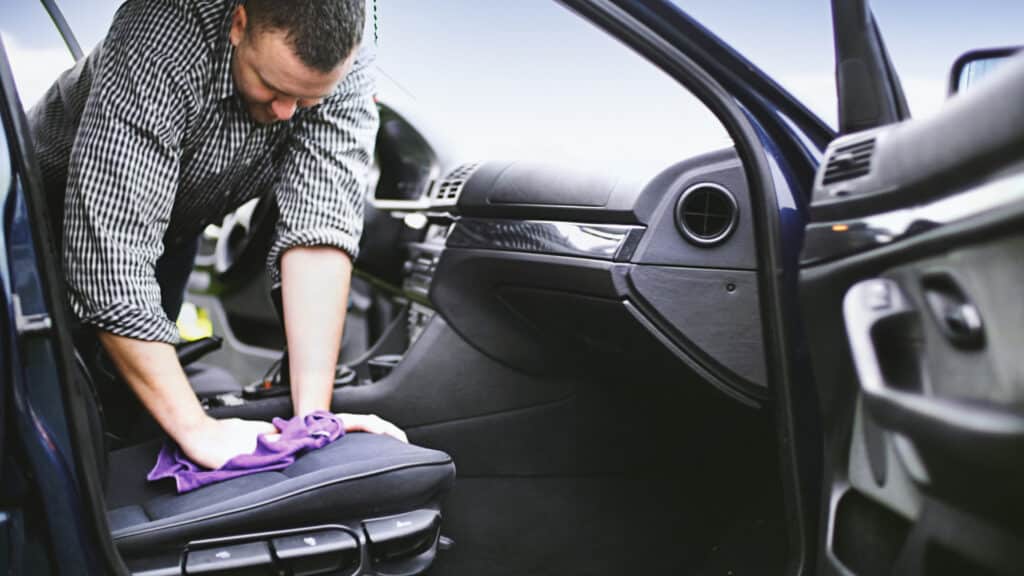
Yikes – we’re so sorry you’re here reading this guide. However vomit ended up on your car’s interior, removing it won’t be fun, but this how-to should at least make the process as quick and painless as possible.
Although it’s a grim job, removing vomit from your car’s interior should be done as quickly as possible after the fact. Sick is surprisingly acidic, and depending on what the unfortunate soul who did the deed last ate, it has the potential to cause real damage to the inside of your car.
In this vomit removal guide, we’ll show you how to remove sick from your car’s interior, including stains, marks, residue and, of course, any lingering odours. So, without further ado, pop on a pair of rubber gloves and let’s get to it…
What you’ll need to remove vomit from your car
OK, so before you start, you’ll want to have all the right tools to hand so you can deal with this mess as quickly as possible. As such, make sure you have the following within easy reach:
- Rubber gloves and other PPE as appropriate (especially important if you’re a taxi driver dealing with a stranger’s vomit)
- A plastic carrier bag or other item that you don’t mind throwing away (whether it’s a towel, a sheet or an old rag)
- Paper towels or kitchen roll
- A dedicated interior car cleaning product
- A vacuum cleaner
- A car sanitising spray cleaner
Step one: Remove the vomit
There’s no easy way to remove vomit from the inside of a car. Your best course of action is to pop on a pair of rubber gloves, grab something like a plastic bag or old towel, and try to remove as much of the matter as possible. It won’t be pleasant, but you need to tackle this step before you can move on to cleaning and disinfecting the area.
When you’ve got rid of the main bulk of the mess, switch to kitchen roll to continue removing and absorbing the residue. You may like to lay a few squares of kitchen roll directly on the area before weighing these down with a heavier object. The paper will absorb moisture, allowing for more effective cleaning later on.
Step two: Clean the area
When you’re confident you’ve removed as much vomit as you can, that’s the really icky part pretty much over. Now it’s just a case of ensuring that the area is properly clean so that it doesn’t become a breeding ground for bacteria and bad odours.
To begin, you’ll need the right cleaning product. Depending on the surface that the sick came into contact with, there are a few different interior car cleaners you can use, including:
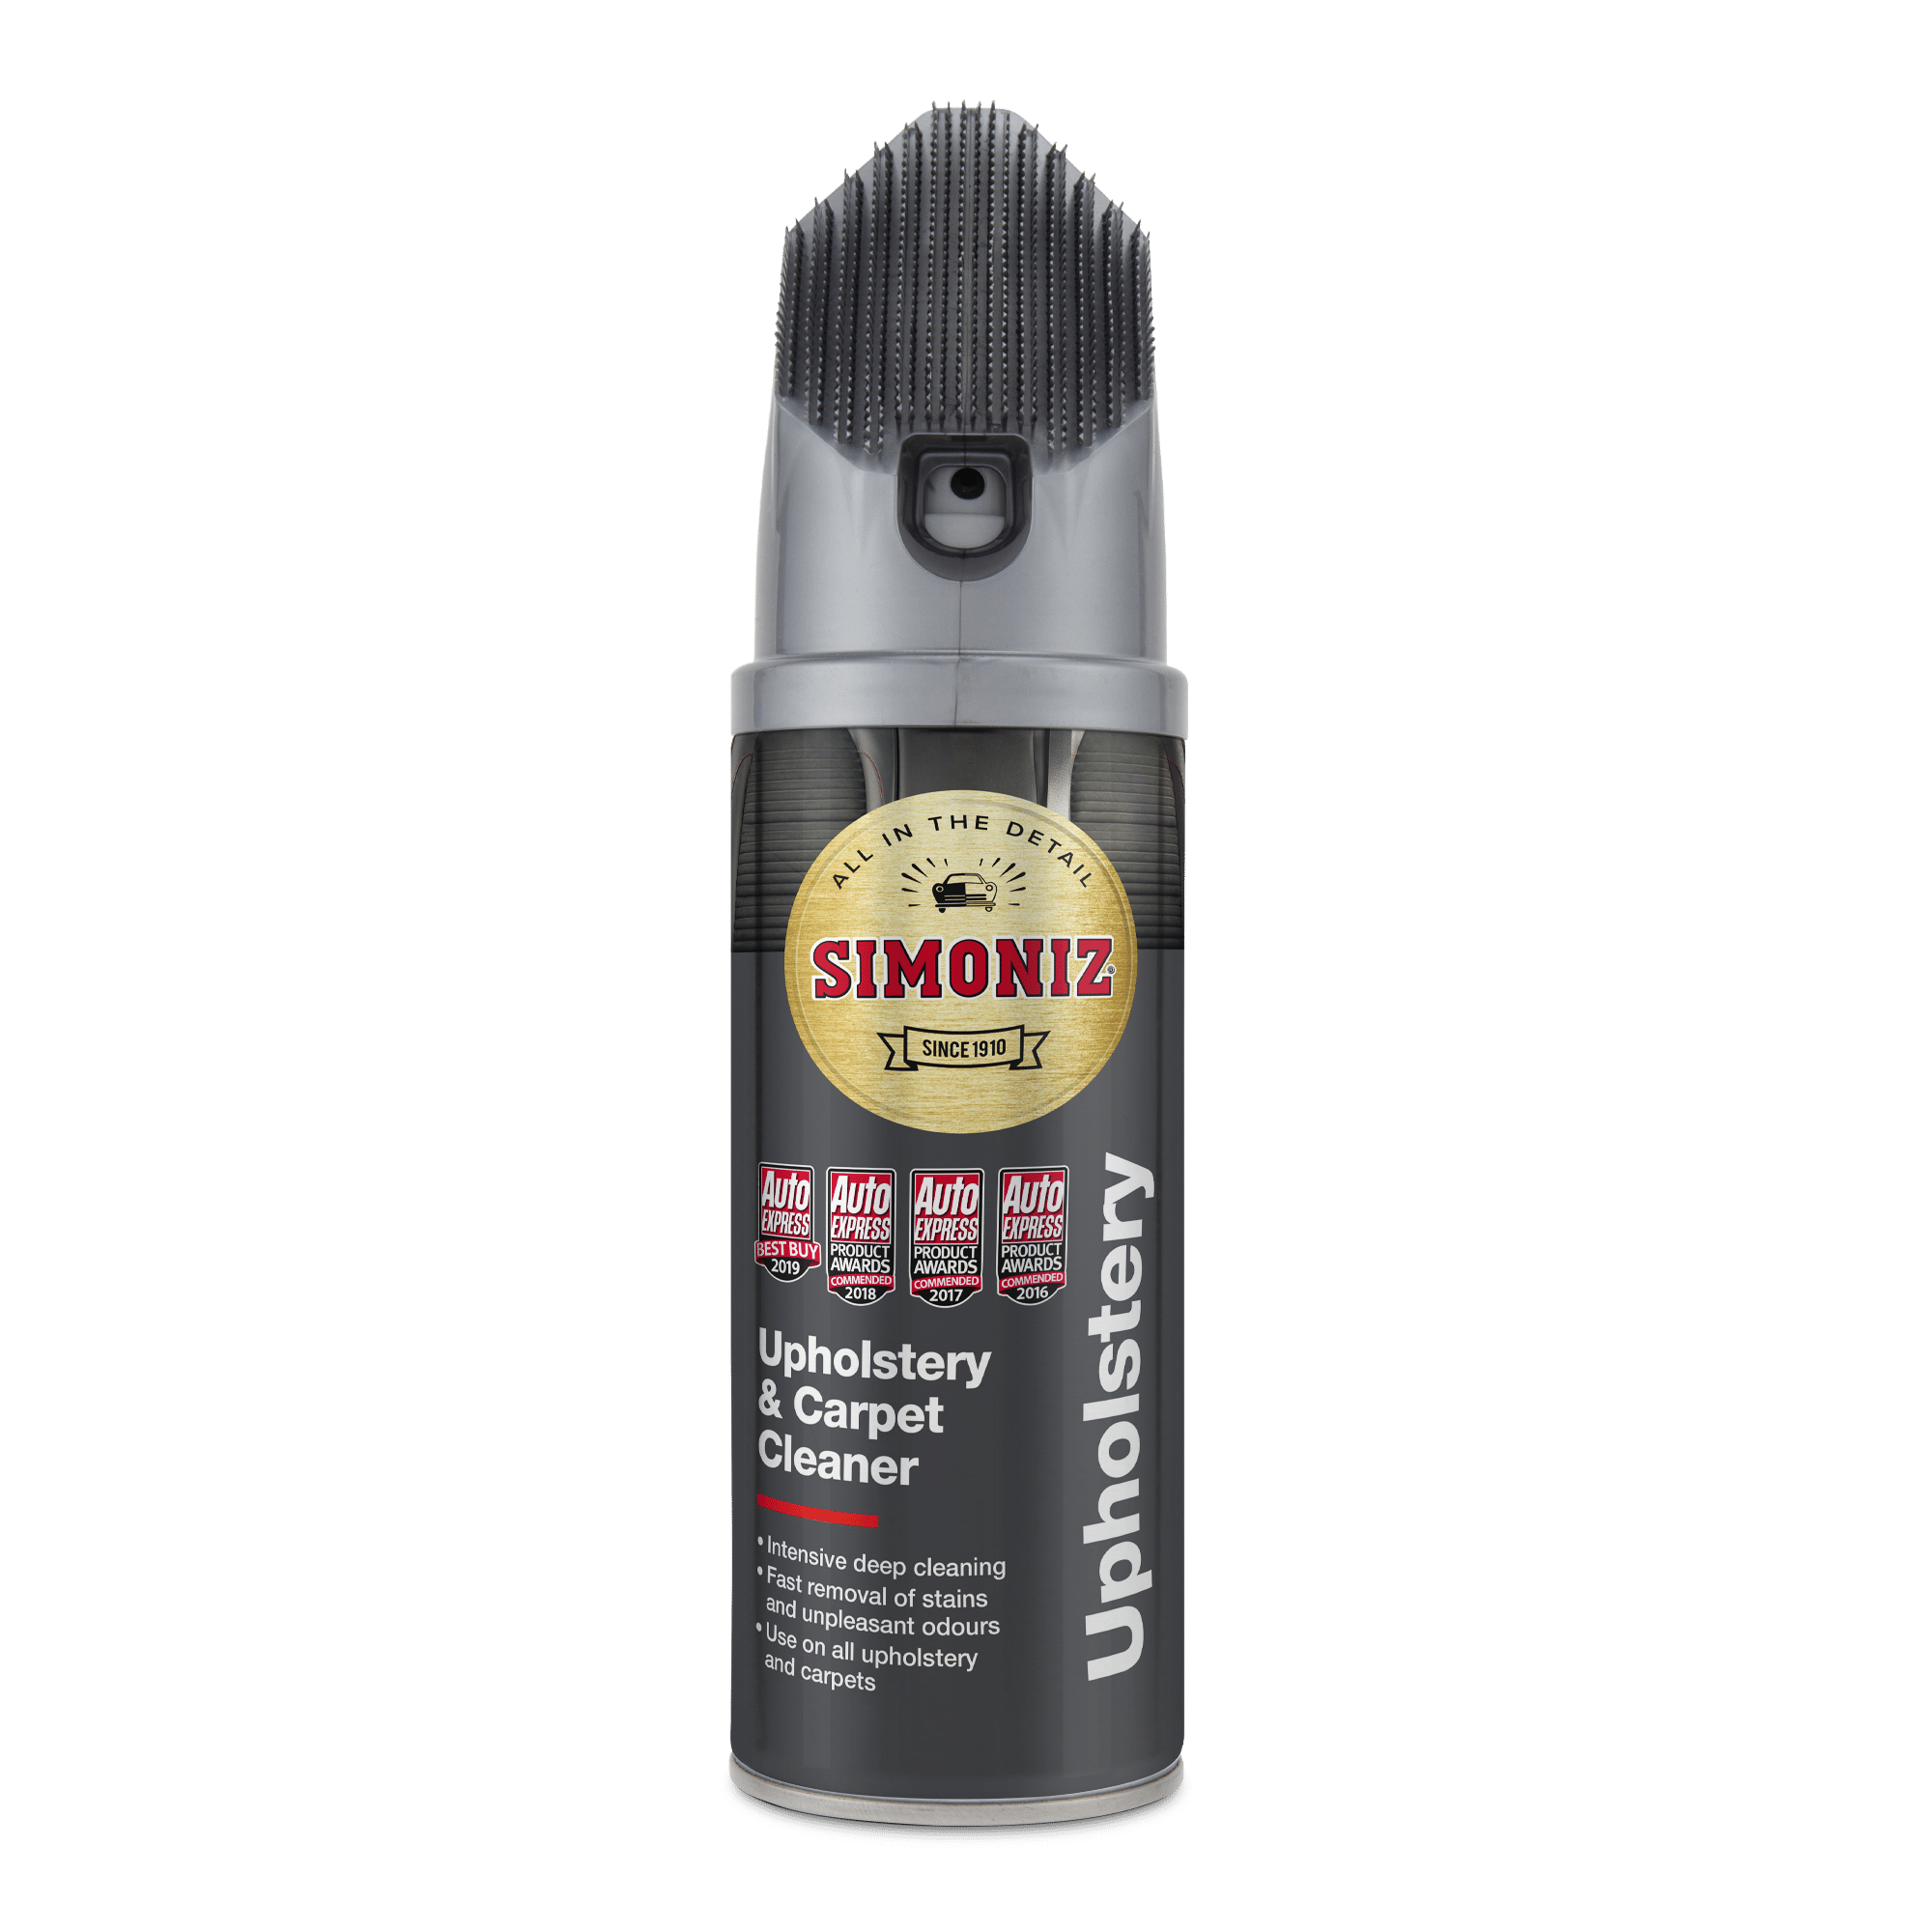
- Simoniz Upholstery & Carpet Cleaner – with its powerful cleaning formula and innovative brush-head applicator, this is ideal for removing stains, marks and bad odours from car seats and carpets.
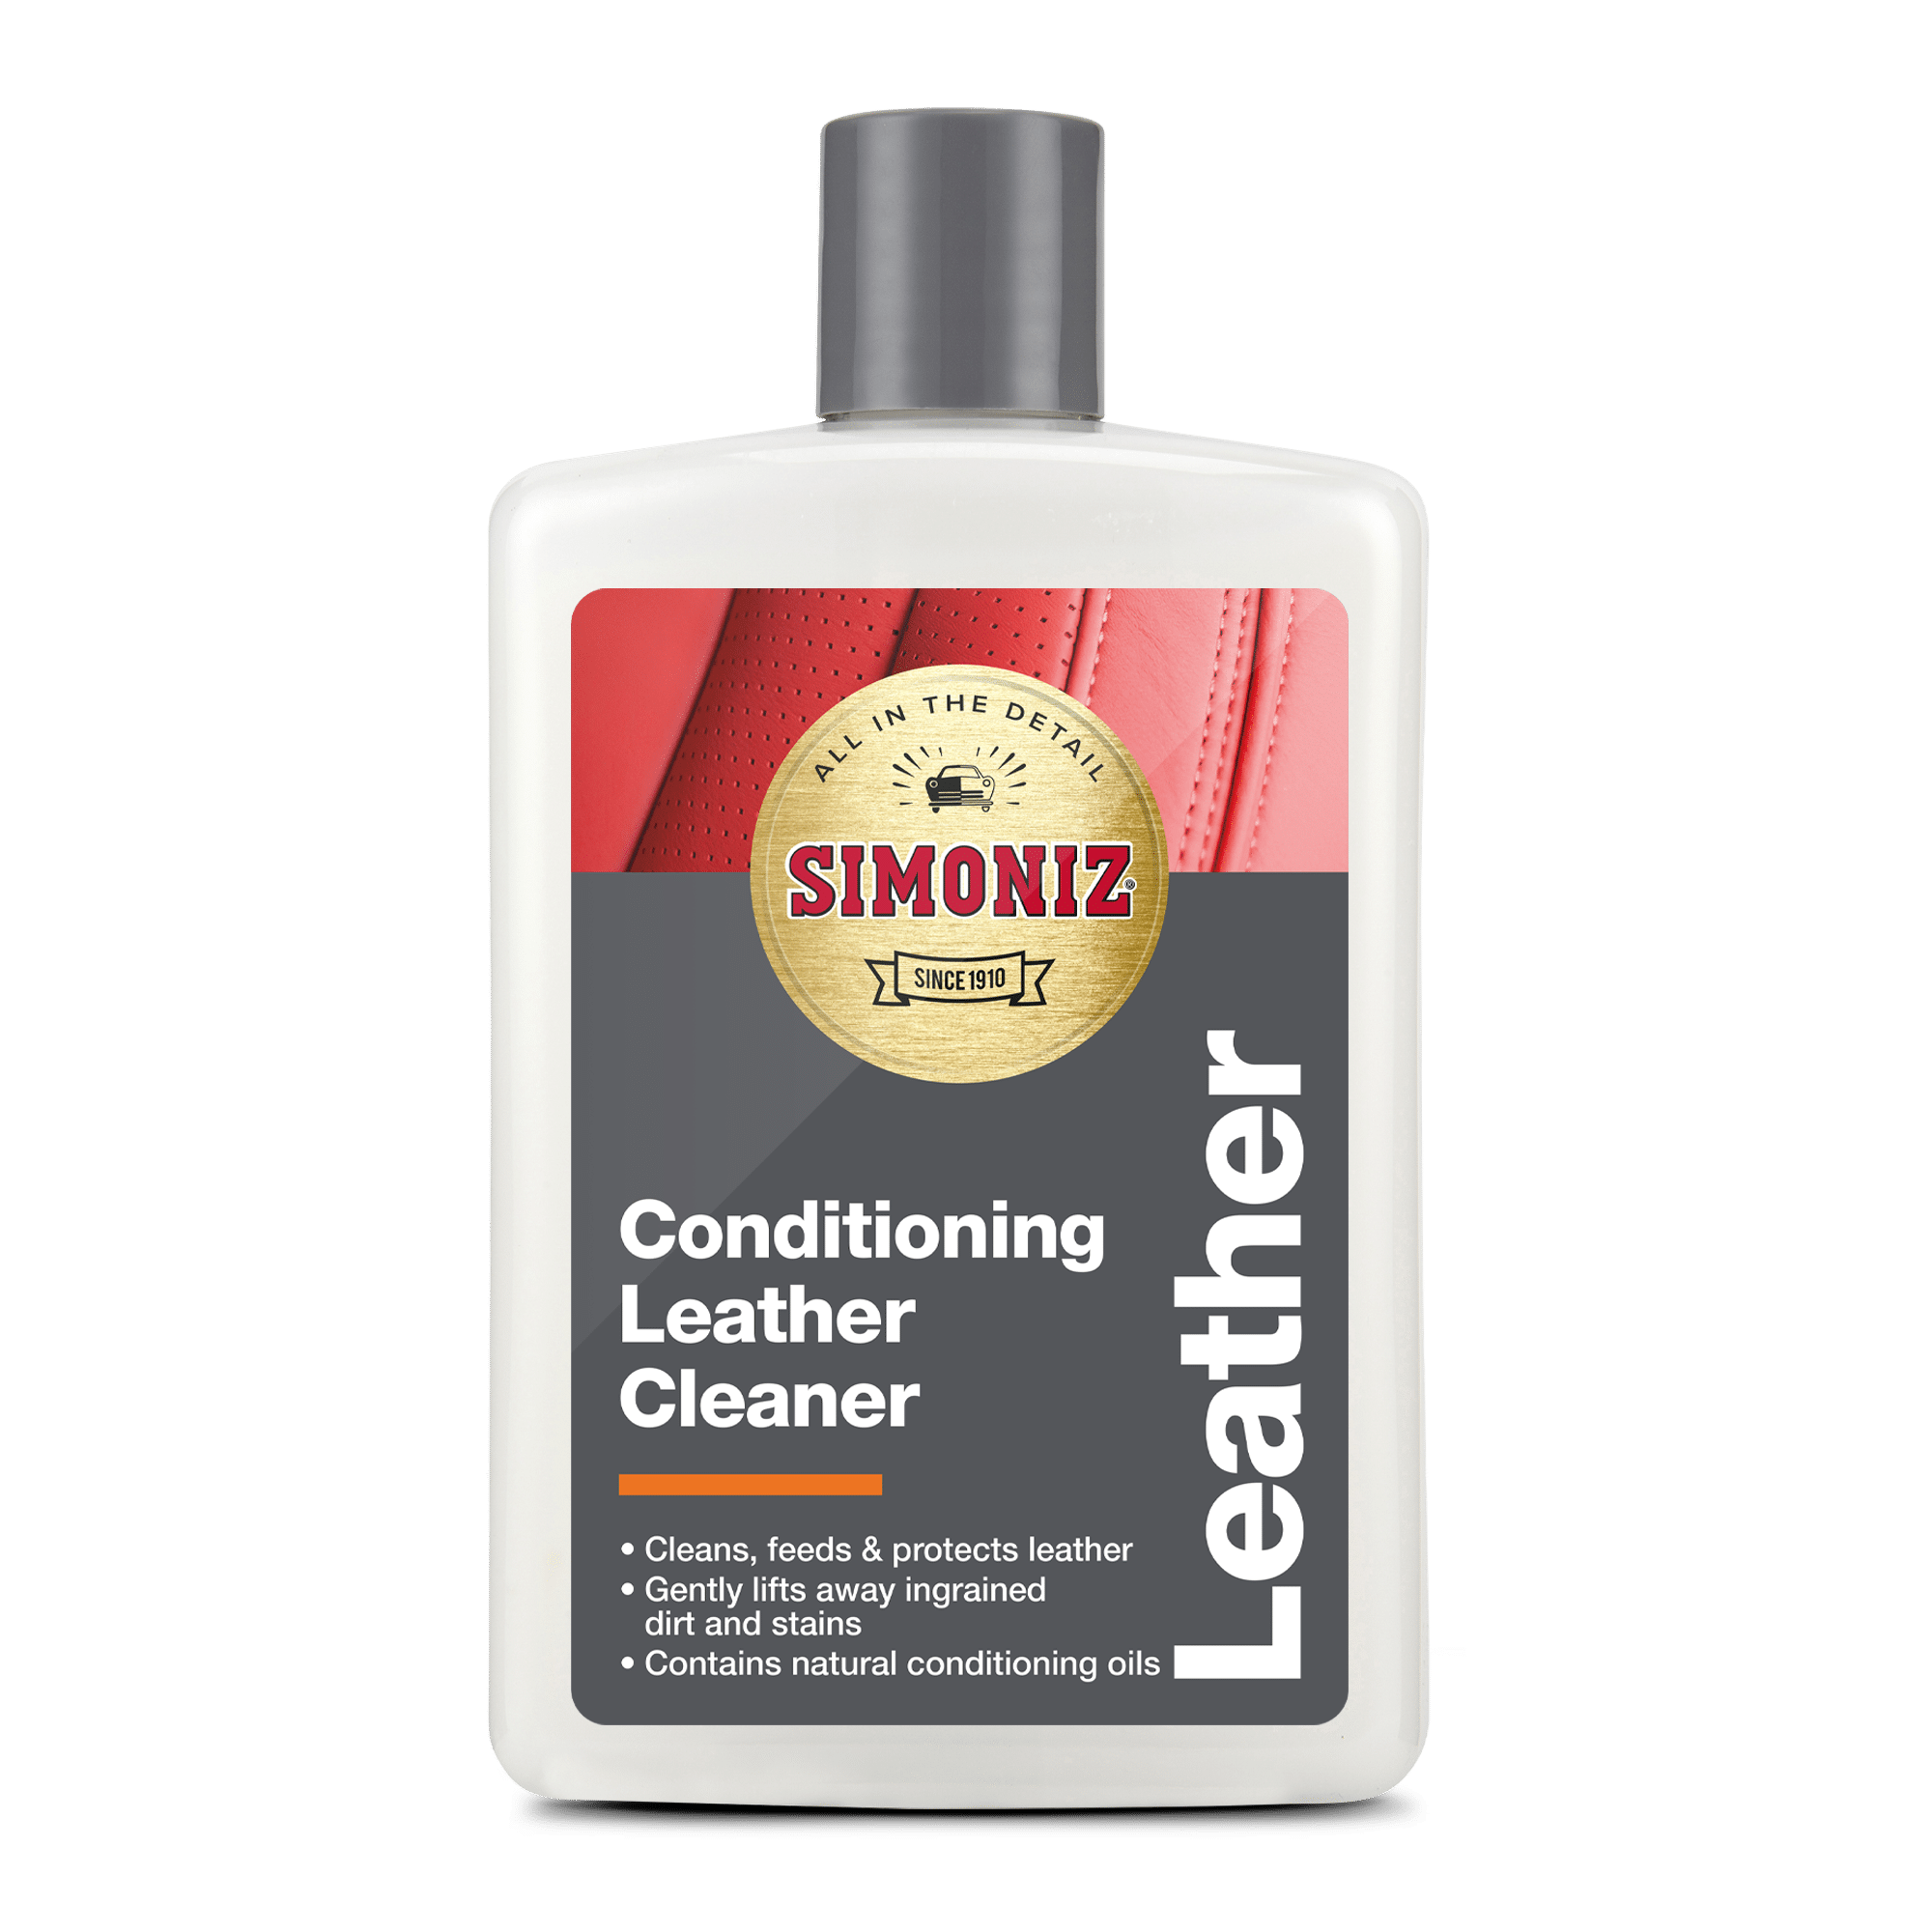
- Simoniz Conditioning Leather Cream – if you have leather seats, you’ll want to clean and treat them with a specialist conditioning cream. Our all-in-one product cleans, feeds and protects leather surfaces, making it ideal for vomit clean-up jobs.
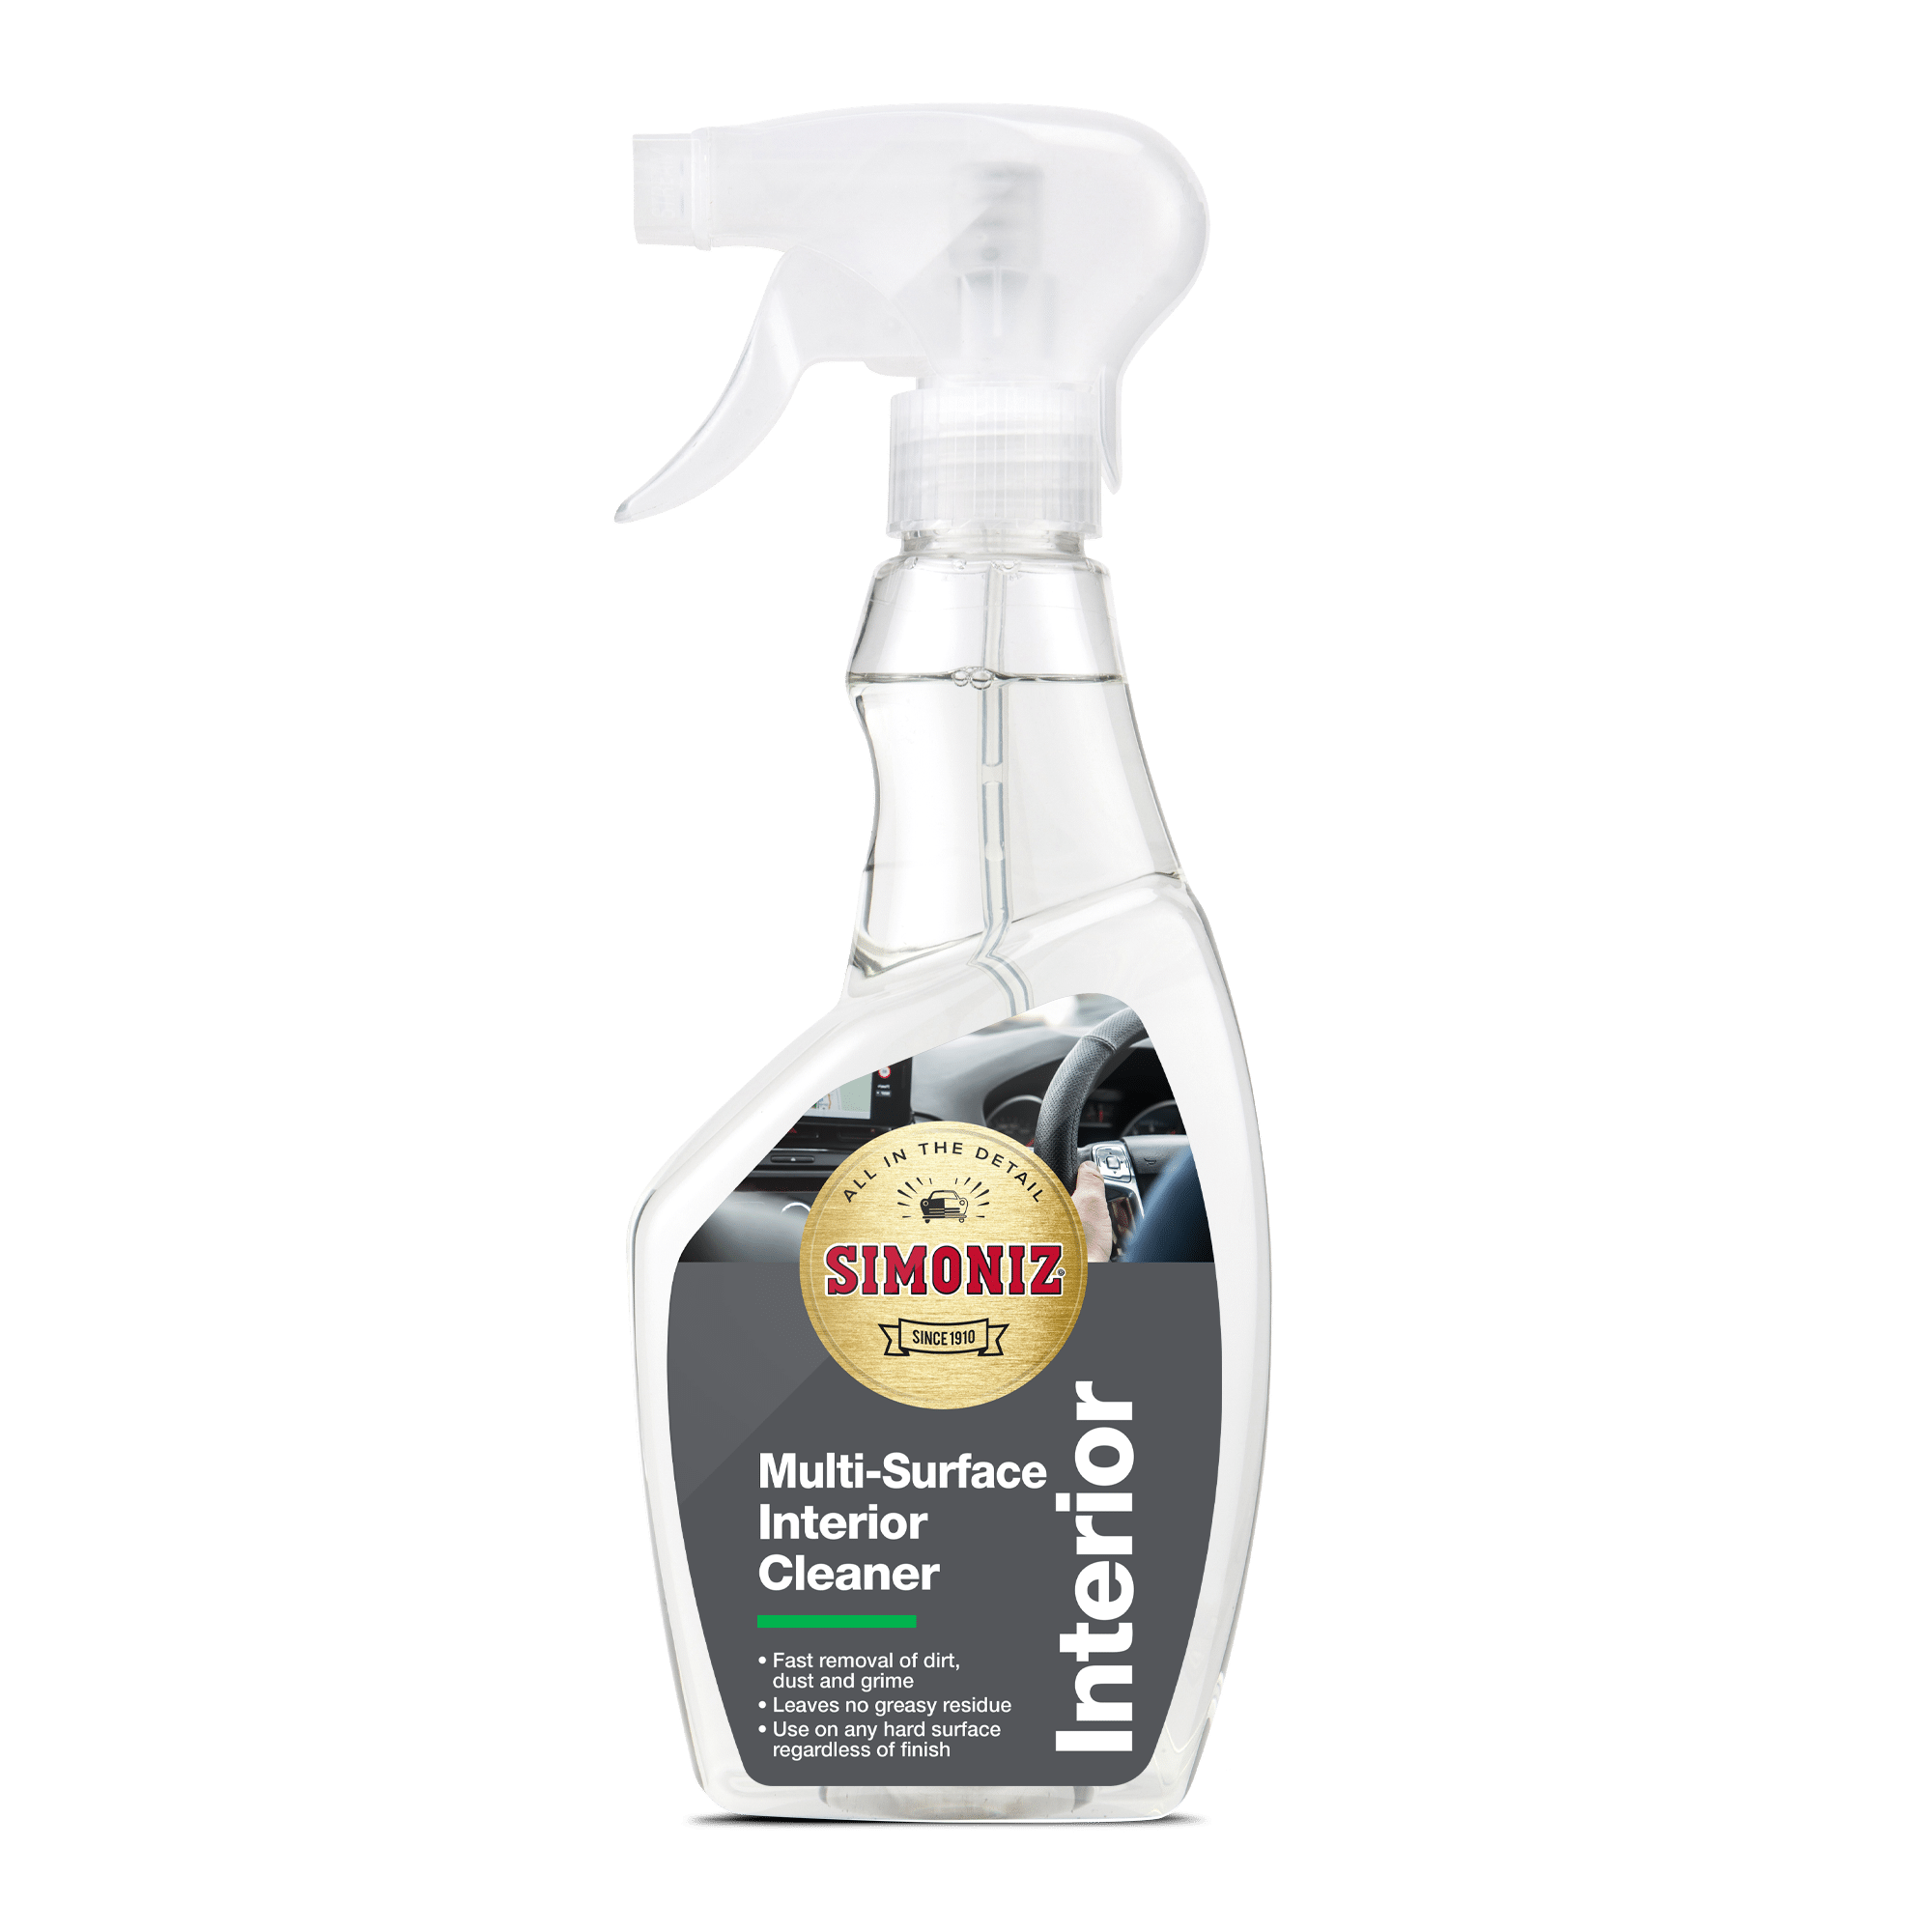
- Simoniz Multi-Surface Interior Cleaner – has vomit come into contact with hard surfaces like the dashboard, doors or windows? Get yourself a multi-surface interior cleaning spray that’s developed to cut through grime and sticky residue, leaving surfaces squeaky clean and free from bacteria-causing grime.
OK, so let’s assume that the vomit has come into contact with the carpet. After all, that’s probably the most likely place for it to go! Here’s a step-by-step guide on how to remove any leftover residue and lingering odours from your car’s carpet fibres…
- To begin, spray Simoniz Upholstery & Carpet Cleaner liberally over the affected area. The multi-directional spray formula should foam lightly after it’s been applied, showing that it’s penetrating deep into the fibres of the carpet.
- Leave the product to work for 5-10 minutes. Our specialist upholstery cleaner is designed to absorb dirt and grime so that any bacteria and residue can be easily lifted and removed from the upholstery.
- After five or so minutes, agitate the surface of the carpet with the brush-head applicator. A few passes will help work the product deep into the pile of the carpet, scrubbing away any stubborn marks and helping to eliminate bad odours.
- Once you’ve given the area a full, deep-down clean, use a vacuum cleaner to remove any leftover residue. This also helps speed up the drying time of the product, so you can check for stains and odours and re-apply the cleaner if necessary.
- Leave the area to dry thoroughly and repeat the steps if necessary. With any luck, if you’ve tackled the vomit quickly enough, there should be no leftover stains or marks of any kind.
Step three: Sanitise and de-odourise
Anyone who’s ever cleaned up a pile of sick will know that the hardest part is removing any lingering smells. No matter how good your clean-up job is, the odour of vomit is surprisingly hard to remove, so you may need to take additional steps to make sure your car’s interior is left smelling clean and fresh.
To achieve a deep-down clean and a fresh fragrance, we’d recommend Simoniz Car Sanitiser. Our innovative germ-killing sanitiser is the perfect way to finish up your interior cleaning regime, with an auto-spray trigger system that eliminates all remaining bacteria and bad odours inside your car.
To use Simoniz Car Sanitiser, place the product in the footwell closest to where the vomit was. Then, depress the trigger and close the door. With its auto-spray function, the product will get to work immediately, circulating through the cabin to eliminate germs and bad smells. In 10 minutes, you’ll have a clean, germ-free interior, free from any and all traces of vomit.
We hope this guide proves helpful in ridding your car’s interior of vomit. However tough the cleaning job, Simoniz car care products are here for whatever life throws at you and your car. Browse our full range or check out our blog for more help and advice.


